
Well good news for me! My kids decided to scale back on their 40k armies, so I get to add a metric crap ton of reinforcements to my beleaguered 30k Ultramarines Army.
There is not much of a 30k scene in my area of the country, so I decided to find the best way to convert my 30k army into a 40k army. And this left me with 2 full sets of Primaris Space Marines from the 2 Dark Imperium starters that I did not use to beef up my other armies, to form a hard core to a new 40k army.
And on top of this, my birthday was this month, so my reinforcements will include:
2 x 9 man Primaris Intercessor Squads
1 x 9 man Primaris Hellblaster Squad
3 x Primaris Repulsors
1 x Primaris Captain (converted from a DI Lieutenant)
1 x Primaris Librarian
1 x Primaris Apothecary
1 x Forge World Xiphon Interceptor.

HAPPY BIRTHDAY TO ME!!!!! Well, not really, as I was going to buy them anyways, it was just an excuse to not have my wife give me a dirty look.
To check out my unboxing video, go here
Assembly is pretty straight forward, as would be expected from a GW kit. There was one GOTCHA that I was prepared for, so I was able to adjust for it. For all pre-paint assembly, I opted for plastic glue, as this melts the joins together, forming a stronger bond. However, it takes up to 24 hours to cure fully, so this was done over the course of 2 evenings.
.

The bottom was pretty straight forward. The mounts for the side and front grav plates went on easy enough, as did the side uprights as well as the rear grave plates.
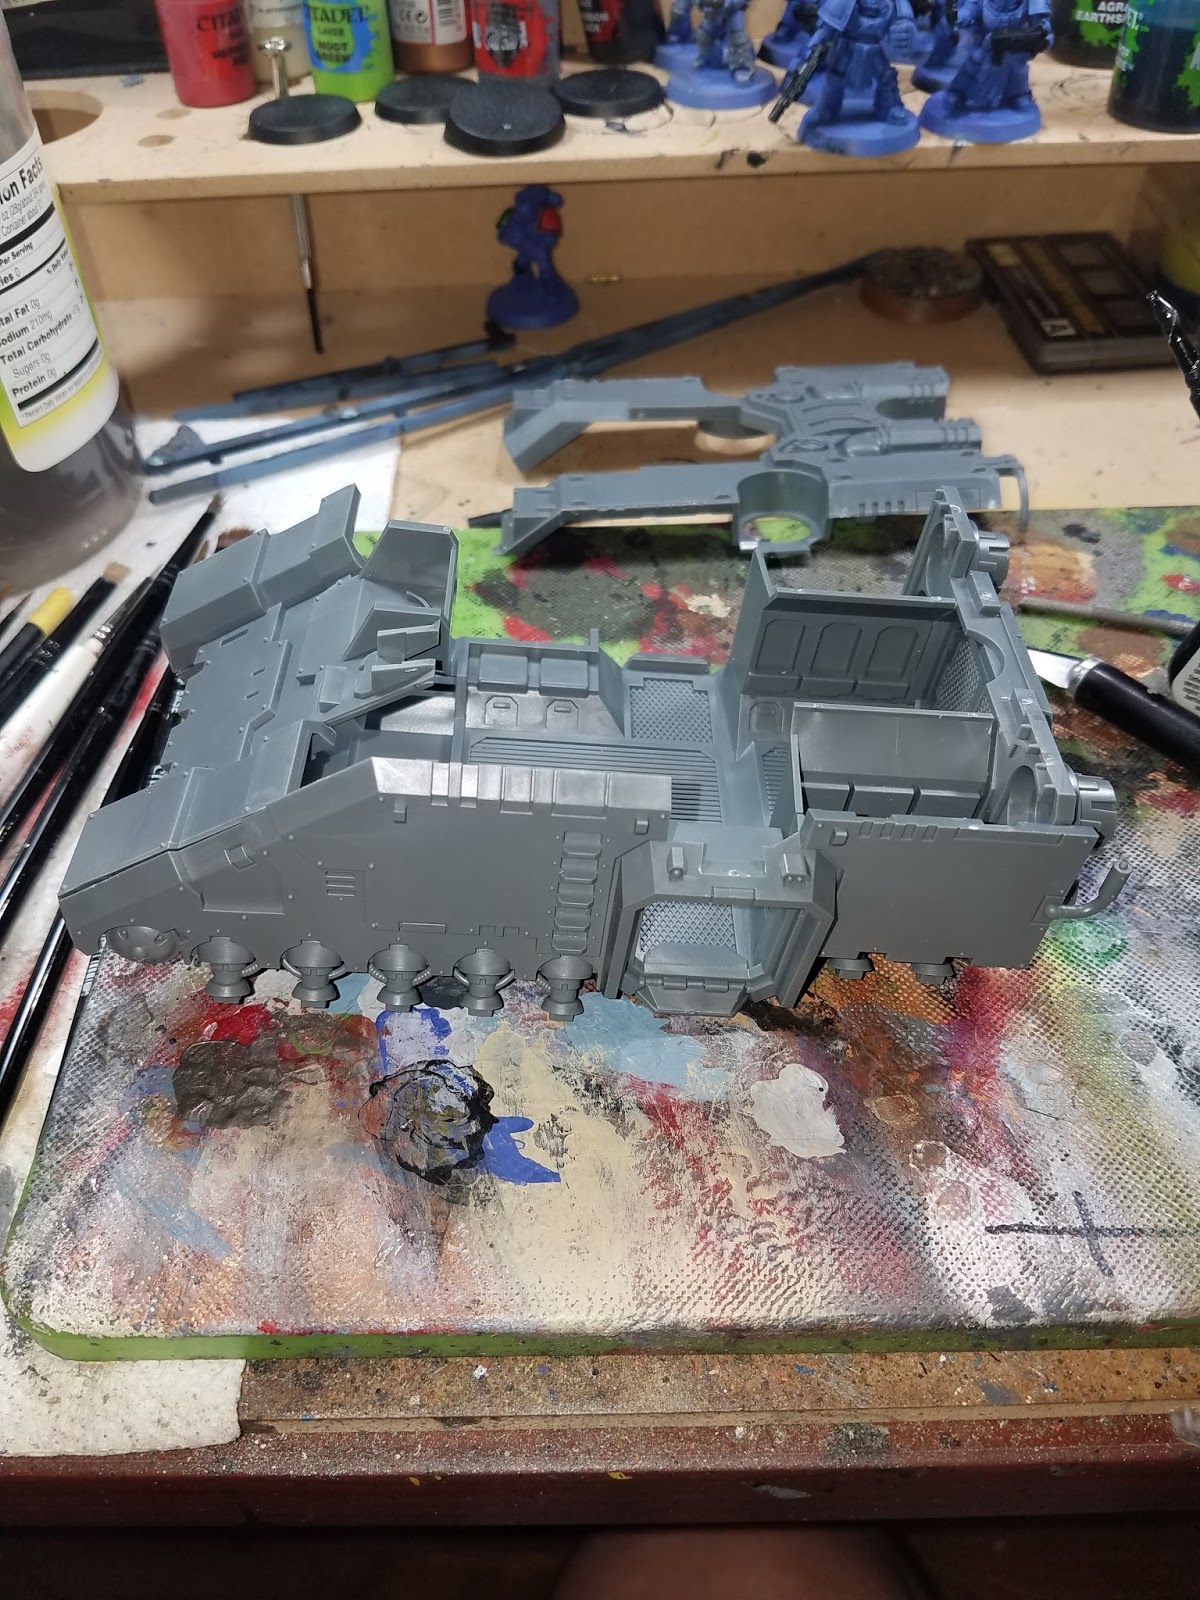
Okay, according to the instructions, the front and top plates mount first, and then the sides, but I saw some botched assemblies, so decided to switch it up, and attach a side first.
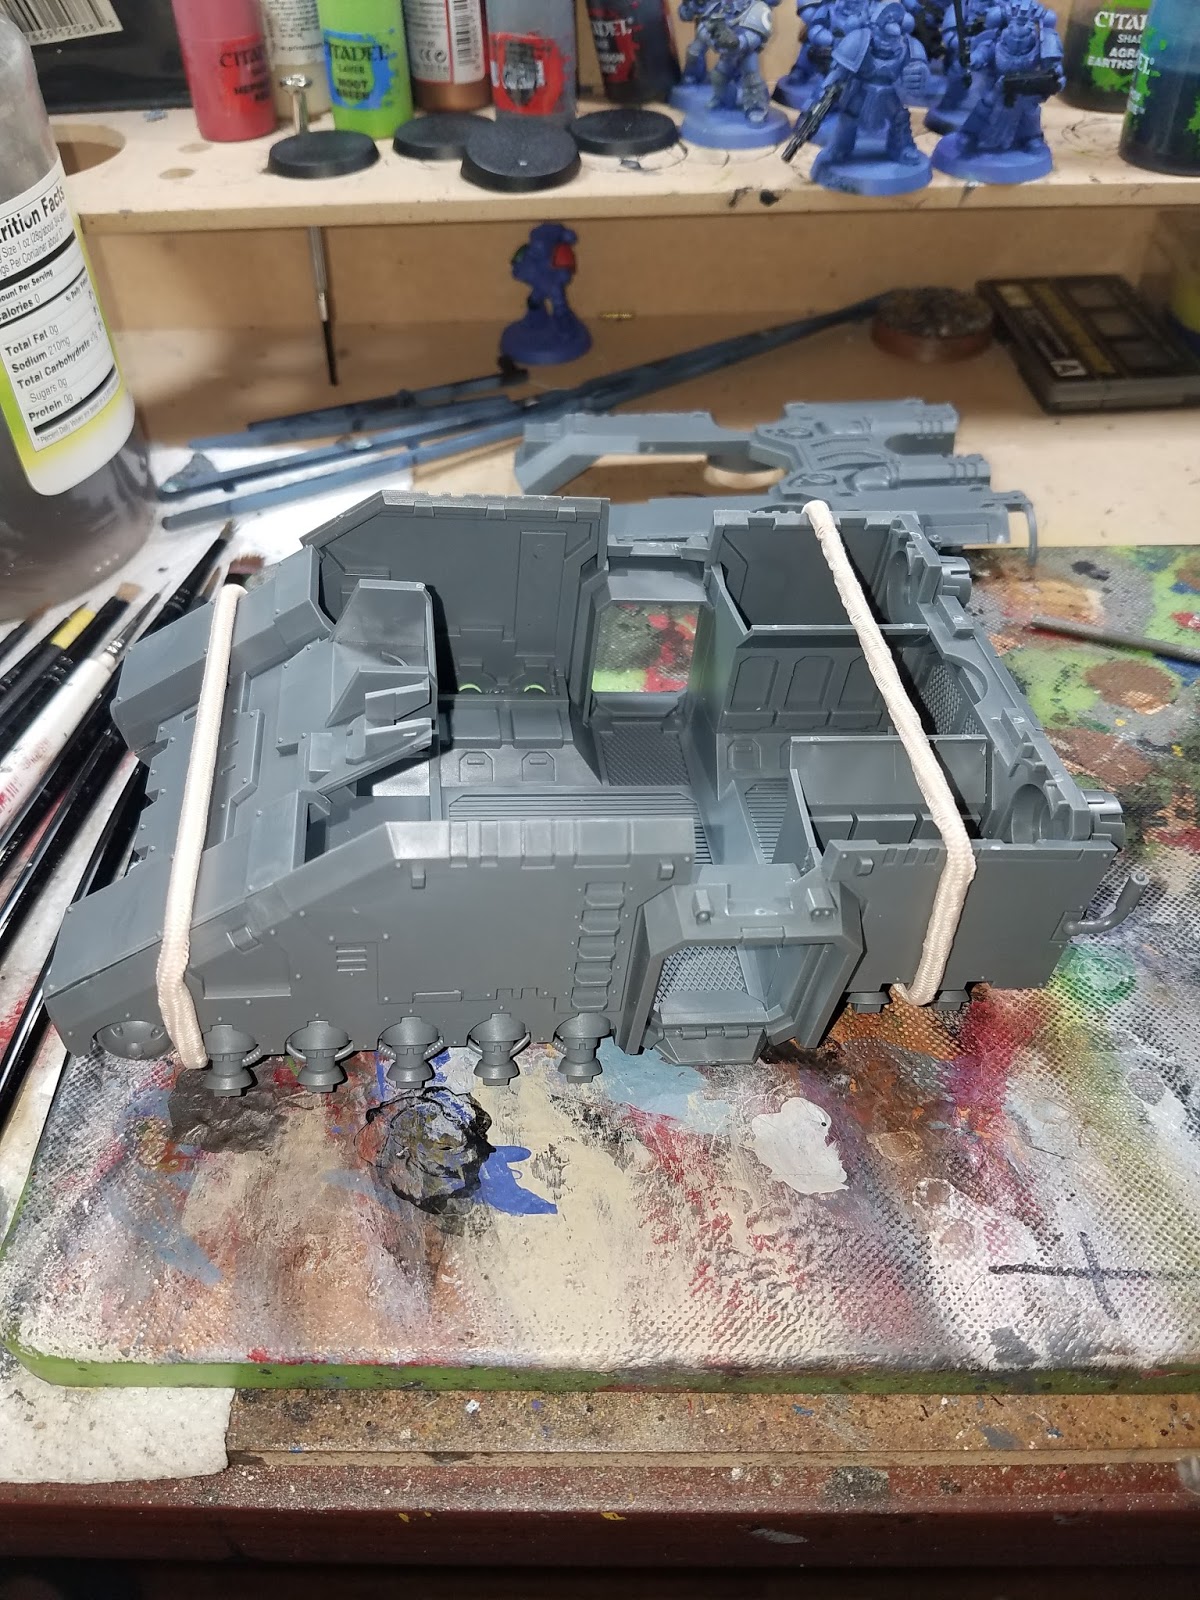
I then attached the other side, and let it sit for a couple hours to setup.

Here's a shot from the front. Big gripe amongst other builders was the gap between the front and sides. I held the sides in place with a couple of Goody Thick Hair bands. These things have good pull, and don't snap your fingers too bad.

The next night, I attached the top plate, and assembled the side and rear sponsons. There is a little mounting ridge at the front of the right front top plate. I had to do some wiggling to get that in there. This was put there to give the top something to brace against the front, and I just used it as a glue point.
I assemble everything in sub assemblies, to get ready for paint. The turret was straight forward, and I followed the directions to mount the Heavy Onslaught Cannon to the turret.


In the back, watch for those rails. They have a pin mount to keep them secure - Nice move GW - those rails normally break - these are pretty stout.

Finished main body and turret. Stowage, outer turret weapons mounts, side and rear sponsons are all assemble, but off to the side.

All primed up and ready to paint! After the main sub assemblies are painted, I attach them with superglue, after cleaning the mounting surfaces with either really light grit sand paper, or fine Emory board.
Got it all painted up over Saturday and Sunday evenings - it came out GREAT.

No comments:
Post a Comment